Heyo, fell off the blogging bandwagon for the farm for a while. But boy do I have some awesome updates to share! This will be picture heavy, so buckle up kids!
April
Our seed starts were doing awesomely and we need space to put them when they got bigger.
Our tiny strip of grass right in front of the house seemed like a good candidate. It gets lots of sun, even in non-summer months, it's flat (slightly sloping), near a water source (garage) and a pain to mow.
It became the designated garden spot. First, we removed the border edging and stones
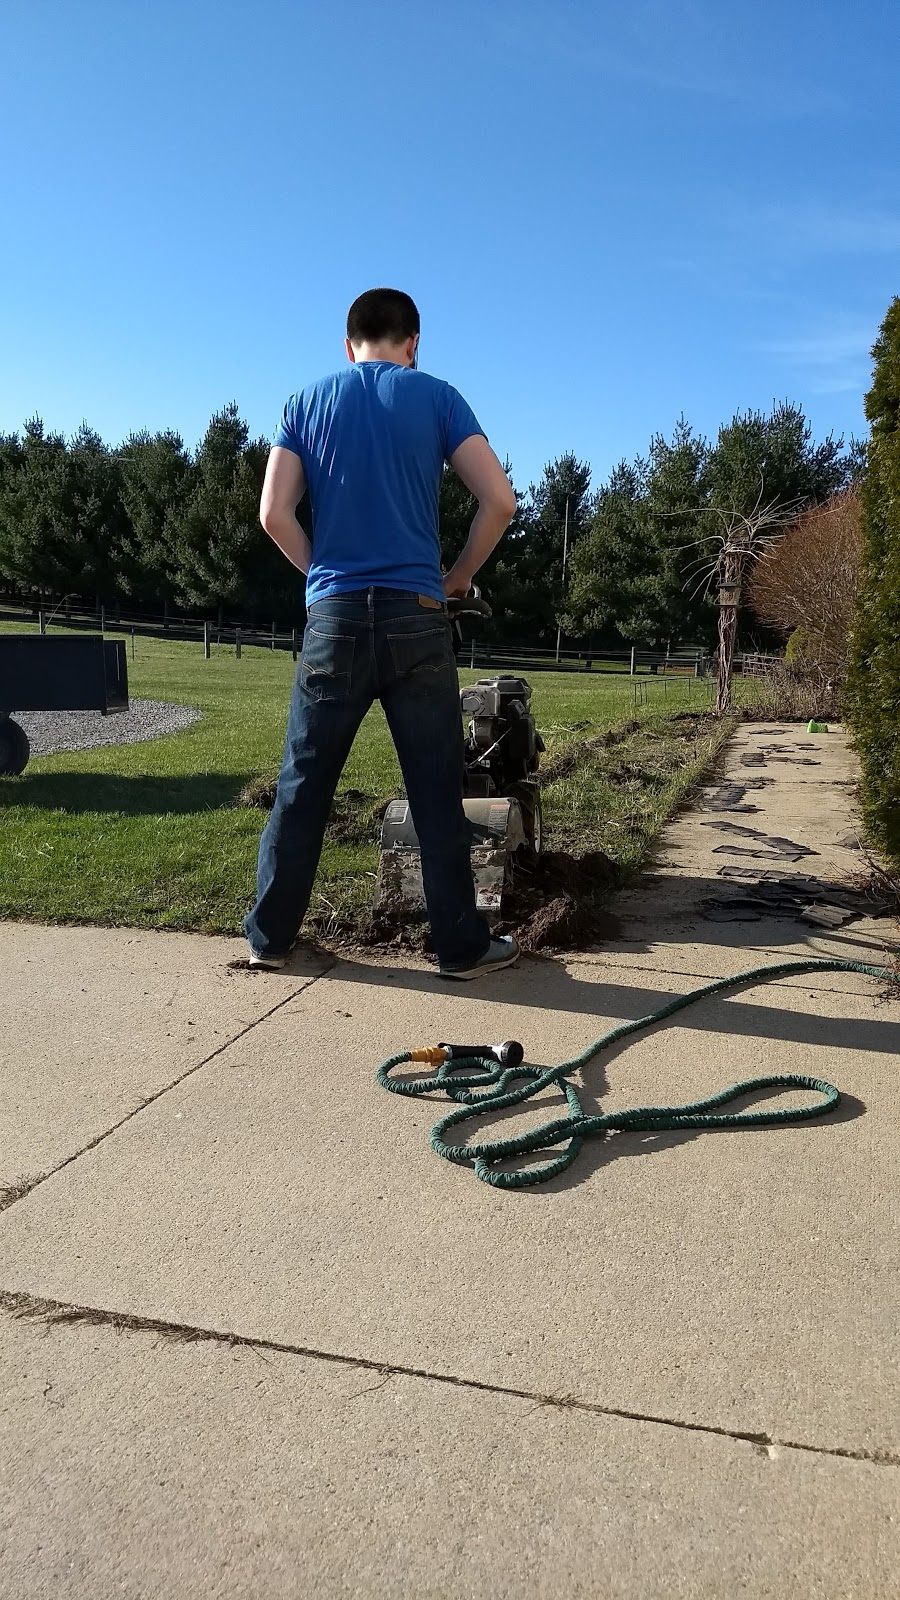
Then it was rototiller time!
Snek!
We painstakingly sifted through the soil to remove the grass clumps from rototilling and preserve as much original topsoil as possible for leveling.
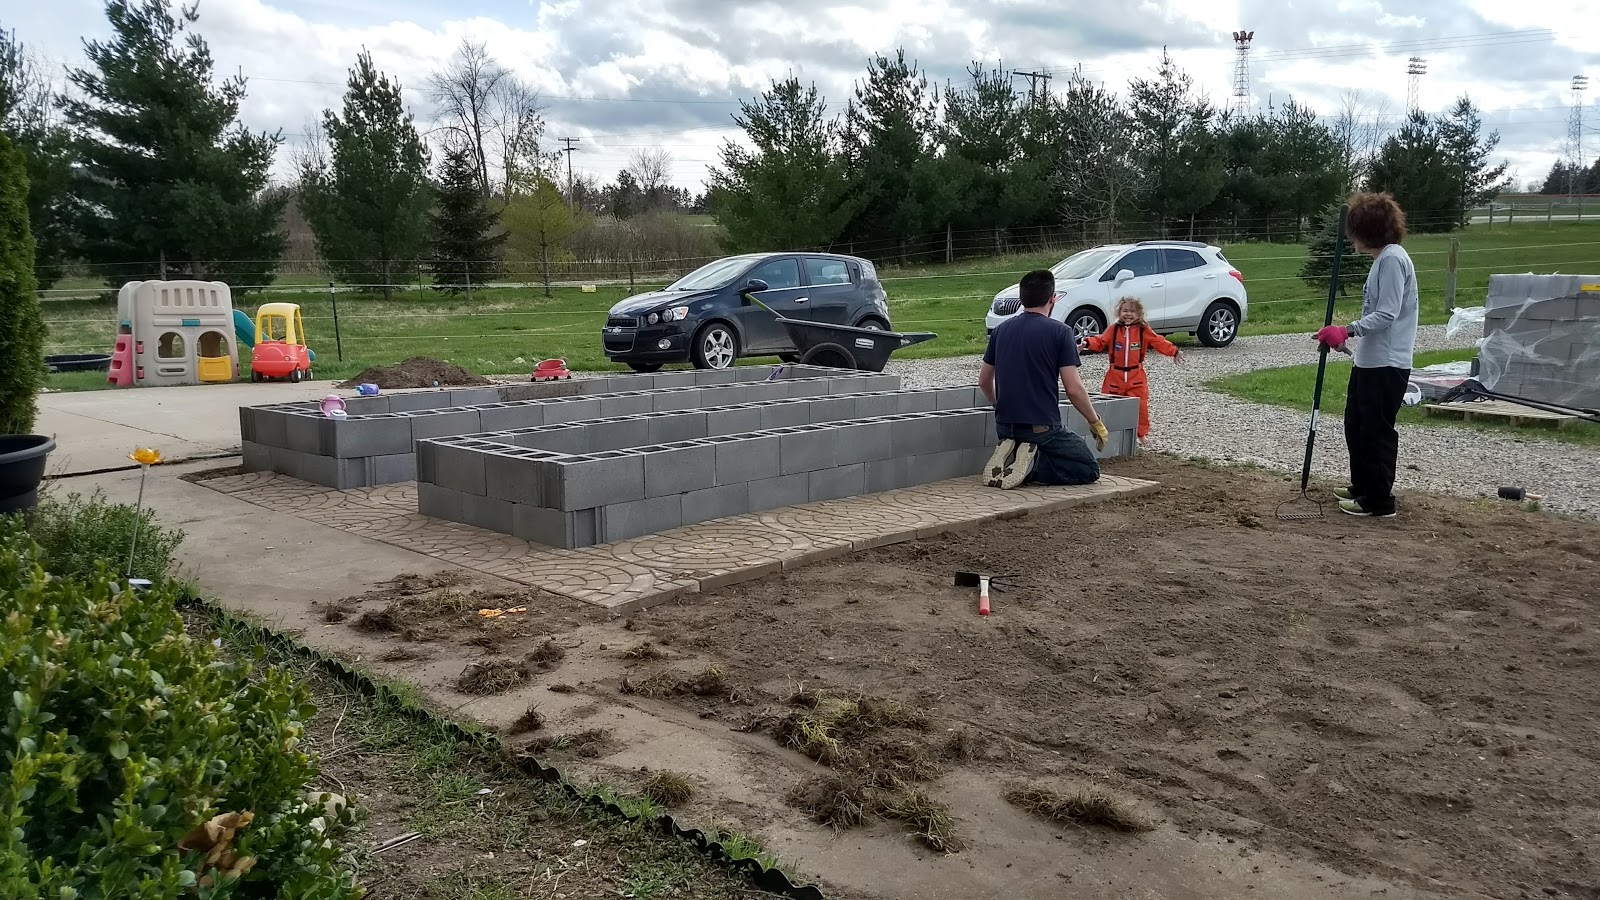
Leveling with cinderblocks used to determine how much of a section would need to be finished to do one bed.
One garden bed base in!
More sifting and leveling to go, putting in a base of manure for extra nutrient boosts.
The ATV and cart were very useful!
Our delivery of cinderblock and paver stone!
We also filled the cinderblock segments with manure and dirt for more garden space.
Paver stones going in as well. This was tedious, backbreaking work.
Pretty patterns
We had help from family too
You can see the sifted grass clods
More beds go in a little at a time
Even the baby picked up a rake
Apple trees start to bud
We also got a shipment of trees from the Arbor Day Foundation and designated the old garden bed as the tree nursery for the baby trees.
I had been away for most of the day and just wearing her sent her straight to sleep, despite the rototiller.
Making sure the beds look level
In the meantime, I started introducing Gwyn and Saffron to the spring/summer pasture.
And mowed for the first time this season. It was sorely needed.
We had a several year old manure pile that was begging to grow some veggies, so we used that first to fill the bottom of the beds.
We found a cool pupa! It wiggled.
With three levels of blocks and a base of manure compost, we planned to do topsoil on the top.
May
We ordered several yards of topsoil to be delivered by a local landscape supply place. It was getting real!
The apple trees blossomed
And the first bed is ready for plants with a layer of top soil over the manure compost!
We also got polymeric sand to fit in between the spaces of the paver stones to lock them in place. It's also supposed to prevent weeds from growing and ants from going through, but our ants have kind of laughed at it and gone and made tons of mounds anyway. There were a lot of ants living in the space we dug up...
Only one bed is 3 blocks high, the rest still need another level at this point.
So we bust butt and realize that we didn't order enough cinderblocks or paver stones to fully finish.
But we did have a helper to keep the topsoil from spreading all over the driveway. We ended up covering the pile with tarps too.
A trip to Home Depot with the truck and the final materials were acquired. The last bed got a load of straw in the bottom with compost on top and then the remaining top soil. We should have done more manure though because the straw didn't compress right away and the whole level of the bed has sunk. It's kind of amusing.
We had pretty skies on the way
And lots of apple blossoms
Hazel is a soil connoiseur.
The garden beds have become our after work spot for play. I water the garden and the kids play in the water and look for changes as the fruit and veggies mature.
And our plants start going in! We did do any fruit starts, so those I purchased. Each bed is themed. The first two (closest to the driveway) are tomatoes, peppers and onions. The third bed is fruits, so we have blueberries, strawberries, raspberries, blackberry and watermelon. The fourth is beans, peas, corn and pumpkins!
Eric teaches Kaylee how to set things on fire with a magnifying glass. SCIENCE!
The fruit bed.
And we finally get to move our tomatoes out to the garden beds! They had been taking over the house. And boy have they loved it.
More apple tree
Looking sparse, but now they are just bushy and thriving
A good way to entertain kids is with paintbrushes and buckets of water. They can't hurt anything and it keeps them cool in warmer weather.
And we had a brief escape and walkabout wherein I nearly had a heart attack but they are safe and sound.
Robin nest you can see from Kaylee's room.
I left the horse trailer open and some enterprising birds made a nest in my hay bag.
LILAC SEASON! I love lilacs. They are my favorite flower and scent, hands down. I finally have lilacs that are blooming (my bush in Washington never bloomed before we moved and the new owners tore it out D:) I'm looking forward to next near and MORE blooms!
The nest in front of Kaylee's window has eggs!
Trip to the farm store for supplies for a separate project.
A shelter for the critters in the front pasture!
Bebe apples
Fat pony needs food restrictions until the pasture is eaten down a bit.
A spider living on my blueberry bush.
June (so far)
Our strawberries started ripening! We lost the first one to ants (I believe) and I took steps to bait them away after that. Darned if I'm going to lose out on my fruit! I'm growing it for me to eat! Well, and the kids too.
Baby blueberries
Corn is coming up from seed
Peas are starting to grow up. I've since added a line between the stakes so they have something to grab onto. In the lower right corner is a cuca melon that has a cucumber variety. A lady down the road sells plants and I got a bunch from her!
A perennial in our existing front garden.
Baby tomatoes
Lavender is starting to flower.
Taking the time to reinforce training after dinner.
Babies have hatched! Now we have screaming hatchlings! Though I checked yesterday and the nest is now empty, so they've flown out!
And the piece de resistance.... With our front garden finished, we decided to move the aquaponics outside for the summer. We can work out cycling kinks where an overflow is forgiving to the surrounding environment (as opposed to inside) and we can take advantage of sunlight.
It's a simple system. A pump in the lower trough pumps water up into the upper one, which is filled with clay pebbles. It fills up faster than it can drain through the spout. After a set amount of time the pump turns off (on a timer) and the water drains. So it's flooding and draining on a schedule. This allows time for the roots to get oxygen and then nutrients and not drown.
The water is a big draw for curious kids who want to stay cool and play. We haven't gotten fish yet (need to wait for the water chemistry to stabilize) but when we do, there will be protections on that lower trough.
We fit a piece of plywood that sits in the upper trough and holds slotted baskets for the plants.
More flowers in our central garden.
Ah sisters...
The central garden. Lots of milkweed, my lilac is out there too as well as the sapling sugar maple.
The hydroton and our mesh drain!
The plywood has holes drilled in for the basekts to sit with the plants. So the water rises and falls and the plants remain immobile.
And as sometimes happens... my hose broke, dramatically.
Just as I was filling up the horse water too. Thankfully we have a lot of hoses around the farm, and a fix was quick. We'll need to get a new hose though.
More plants added. The more plants we have, the more stable things will be once fish get added. In this picture are lemon grass (the tall grass), penny royal (for bug prevention), lavender, mojito mint, chocolate mint, and terragon.
Testing the water is important. I'm keeping a log.
I have helpers.
Oh... and the fireflies have returned :)